In this article, I would like to introduce the method of shooting the starry sky. Since it is shooting in dark places, there are some things to be aware of, but if you get the knack, you can take a picture of the starry sky unexpectedly easily.
This time, we focus on starry sky photos that capture the stars and the landscape with a wide-angle lens as shown in the image below. (Photo taken by the author of this article at Tekapo, New Zealand)
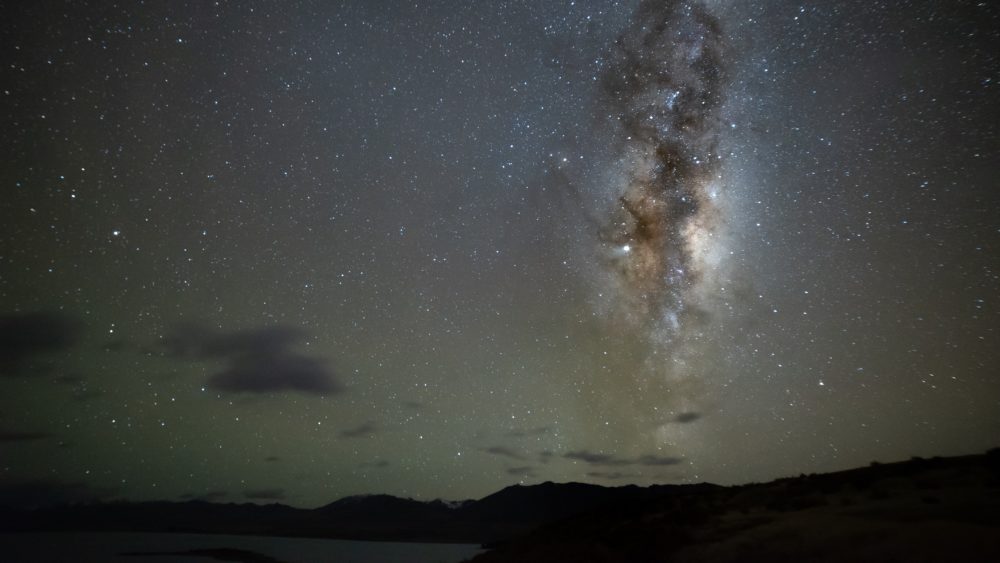
If you want to take a close-up shot of a nebula, the procedure is getting more complicated and you will need to buy a lot of expensive equipment ... it is not recommended.Lol
- How to Shoot Starry Sky Photos
①Decide where to shoot the starry sky
②Place your tripod and camera
③Set the camera recording mode to RAW
④Set ISO, aperture value, and shutter speed
⑤Determine the composition and focus on the starry sky
⑥Repeat steps (4) and (5) until you're satisfied with your work - At the end
How to Shoot Starry Sky Photos
First of all, there are something you need to shoot starry sky photography. Those are summarized in the other article, so please read it before you read this article.(now editting English Ver.)
星空の写真撮影に必要なものリスト8選
Let's take a look at the procedure for shooting a starry sky.
①Decide where to shoot the starry sky
This is also summarized in the other article, so please read it before you read this article.(now editting English Ver.)
星空撮影の場所の決め方
②Place your tripod and camera
When you arrive at the place for shooting the night sky, let's get ready for shooting. Extend the tripod leg to a length that is easy to shoot, and install the camera. At this time, fix the tripod's moving part firmly and place it in a stable place. We take photos at the long shutter speed, so if it moves, the photo will be messed up.
If you have a lens heater, put it lens now. And Take a test shot for making sure that the lens heater is not on the frame.
③Set the camera recording mode to RAW
The photos are saved as RAW instead of jpeg. In the case of starry sky shooting, if you shoot the photos in RAW, you can edit the color later and remove noise. And note that white balance can be changed during editing, so there is no need to set it now.
④Set the camera shooting mode to manual mode
First set the camera shooting mode to manual mode. Most cameras have a dial, and I think there is a notation of M. By setting to manual mode, ISO, aperture value, and shutter speed can be set arbitrarily. Next, make the basic settings referring to the following values.
ISO:2000
Aperture value:f4
Shutter Speed:30sec
The appropriate setting depends on the condition of the location. If the result of trial shooting is darker than you expected, adjust by increasing the ISO, increasing the shutter speed, or decreasing the aperture value. Do opposite way if it is brighter than you expected.
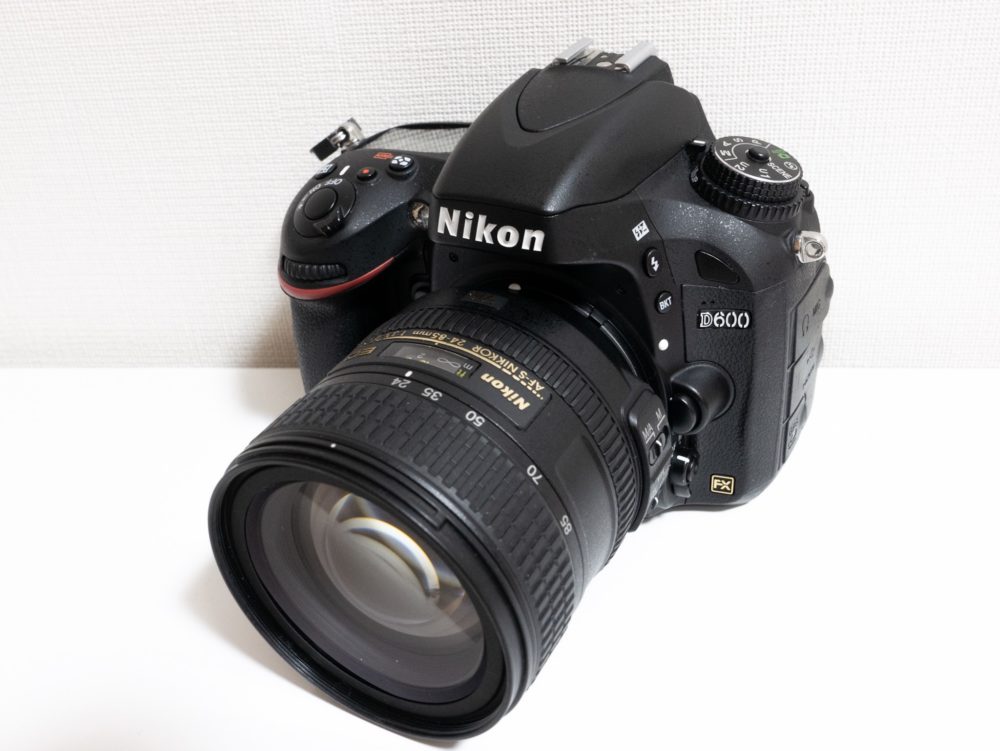
Here are a few points to keep in mind when setting values. First, regarding ISO, if you raise the ISO too much, there will be a lot of noise and the photo will be rough. (The torelance to high ISO increases as the sensor size increases, so if you want to keep the noise low, I recommend the full size. The photo is my trusty Nikon D600 BTW)
Next, regarding the aperture value, depending on the lens, I don't recommend shooting with the lowest aperture value of the lens. Because most lenses are not good with wide opening, and the amount of light at the periphery decreases. This is sometimes used as a charm, but it is not very good when shooting the starry sky.
In my example, I shoot with at least one step from fully opened (f2.8 lens → f4, f2 lens → f1.4).
Finally about the shutter speed. This is especially important. The starry sky moves about 15 ° per hour due to earth rotation. If you set the shutter speed too long, each star will be recorded as a line, not a point. There is a way to express star-trails as well, but if you want to record them as dots, remember the 500 rules.
Shutter speed upper limit
= 500 ÷ Lens focal length (35mm equivalent)
For example, when using a 50mm lens(35mm equivalent), the shutter speed is 10 seconds or less. When a 20mm lens is used, the shutter speed is 25 seconds or less.
⑤Determine the composition and focus on the starry sky
Rather than studying a common composition, It just depends on your sense of photography.
The following articles summarize what I think when I take a picture, so please refer to it if you like.
Give Some Stories To Your Works
Finally, focus. Focus on the starry sky with manual focus. Because autofocus does not work in dark places and the accuracy is poor.
Here are some points to keep in mind when focusing on the night sky. Instead of aligning with the ∞ mark on the lens (the mark may not be present on some lenses), zoom in on the live view monitor and focus on the star. There is a little error, so even if you set it to ∞, it may be out of focus.
The position where the star is the smallest dot will be in focus. If it's not in focus, the photo will be messed up, so make sure to check it.
Then just release the shutter. If you have a remote release, use the remote release instead of the camera shutter button. You can prevent blur when pressing the shutter.
If you do not have a remote release, you can use the timer function.
⑤ Repeat ③ and ④ until you're satisfied with your work
It is unlikely that you will be able to take a perfect photo with the first shot. Repeat steps ③ and ④ to get closer to the ideal one!
At the end
This time, I introduced the method of shooting the starry sky. Once you learn it is very easy, so you should try it. I will also introduce how to edit starry sky photos and time-lapse photography soon.
【Related Articles】
星空の写真撮影に必要なものリスト8選
オーロラに出会う確率をぐーんとあげる3つの方法
オーロラの写真撮影に必要なものリスト8選
オーロラ観測ならアイスランドをおすすめする5の理由
高確率でオーロラに出会える格安アイスランド旅行
【Guide to Iceland】 セルフドライブツアーがお勧め!オーロラ観測旅行の口コミ情報

 Location Hunting is The Most Important Thing to Watch and Shoot Starry Sky
 How to Find and Shoot the Rainbow
 【Review】Panasonic Lumix G95/90 The Best Camera for Travel
 Mystic Optical Phenomenon Called Airglow in Tekapo, New Zealand